Design
What is an Office Fit-Out? The Complete 2026 Guide to Costs, Timelines, and Common Mistakes

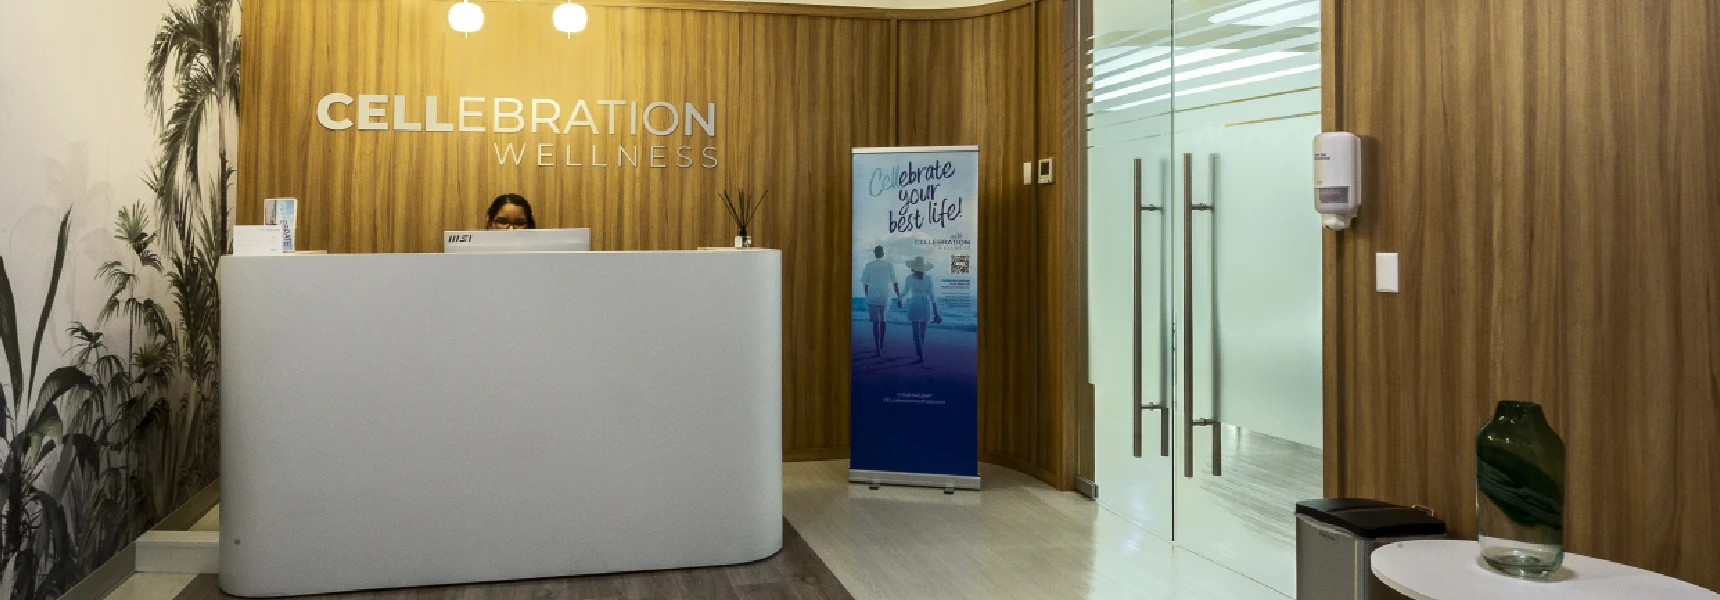
Images AI Spaces | Ziggurat
What exactly is an office fit-out? Simply put, it is the end-to-end process of transforming an empty or base-built space into a functioning workplace. It covers everything from space planning, MEP (Mechanical, Electrical, Plumbing), and partitions to IT/AV integration, finishes, furniture, compliance, and the final handover.
Unlike a simple refurbishment, which upgrades an existing, occupied office, a fit-out typically builds from a shell or "Cat A" condition to a "Cat B" state, ready for move-in.
Whether you are a commercial tenant, project owner, or contract team planning a relocation, this guide provides a clear roadmap. Below, we break down the process into 8 definitive steps to help you control scope, time, and quality.
The 8-Step Commercial Fit-Out Roadmap
Step 1: Define the Brief (Outcomes Before Objects)
Before looking at furniture, you must define the strategy. Lead times hinge on approvals and permits, so clarity here is crucial.
- What to decide: Headcount growth, hybrid work patterns, brand cues, wellness targets, IT/AV needs, budget guardrails, and landlord constraints.
- Essential Tools: Workplace questionnaires, Room Data Sheets (RDS), and adjacency matrices.
- Common Pitfalls: Vague scope, zero contingency funds, and unclear decision-makers.
- Success Criteria: A signed project brief and a risk register opened.
Step 2: Choose Your Delivery Route
Balancing risk versus speed is the key decision here.
- Design–Bid–Build: Full drawings first, then tender. Offers price competition but a slower start.
- Design–Build: One team designs and delivers. Faster and coordinated, but requires tight employer requirements.
- Managed/CM: You hold the trade contracts. Flexible, but requires mature cost control.
- Success Criteria: Contract form selected and roles agreed.

Step 3: Due Diligence & Surveys
Validate the base condition immediately to eliminate surprises during construction.
- What to check: Confirm Cat A specs, MEP capacity, fire strategy, slab-to-slab heights, and IT riser proximity.
- Pitfalls: Assuming "Cat A" is uniform across the building or missing hidden MEP constraints.
- Success Criteria: A consolidated survey pack with constraints integrated into the brief.
Step 4: Concept to Technical Design
Drawings must drive outcomes. Move from concept layouts to coordinated technical information, including reflected ceiling plans and services strategy.
- Tools: BIM viewer, coordination workshops, and sample boards.
- Pitfalls: "Design by submittal" (figuring it out too late) and missing coordination between ceilings and services.
- Success Criteria: A coordinated set suitable for approvals and tender.
Step 5: Approvals & Permits
There are no shortcuts here. Submit to the landlord and relevant authorities for building control, fire safety, and accessibility early.
- Warning: In certain buildings, union rules or noise restrictions will gate your schedule.
- Success Criteria: Formal approvals in writing with conditions tracked in the program.
Step 6: Procurement & Long-Lead Items
To protect the schedule, lock in long-lead components immediately (lighting, glass systems, HVAC, and specialty finishes).
- Strategy: Run an apples-to-apples bid matrix and confirm submittals before ordering.
- Pitfalls: Accepting brand "equals" that aren’t actually equal quality.
- Success Criteria: Purchase approvals aligned to cash flow and mockups signed off.
Step 7: Construction & Quality Control
Build cleanly by setting strict site rules regarding H&S, logistics, and waste. Commission MEP systems progressively—do not wait until the end.
- Tools: Site diaries and digital snagging apps.
- Pitfalls: Late ceiling closures preventing testing, or uncoordinated access control tie-ins.
- Success Criteria: Zero critical snags and life-safety systems certified.
Step 8: Handover, Move, and Aftercare
The goal is a "soft landing." Package O&M manuals, train your FM team, and schedule post-occupancy tweaks.
- Plan ahead: Rehearse the move-day IT cutover.
- Success Criteria: Handover dossier signed and aftercare visits scheduled.
Cat A vs. Cat B: What’s the Difference?
Understanding industry terminology prevents scope gaps and budget issues.
- Cat A: The landlord-provided base. Usually includes raised floors, basic ceilings/lighting, and core services. It is an empty shell.
- Cat B: The tenant layer. This is your fit-out: partitions, meeting rooms, kitchens, IT/AV, finishes, furniture, and branding.
- Cat A+: A landlord "plug-and-play" spec that includes light partitions and amenities, meant to shorten leasing time.
Budget & Timeline: Realistic Expectations for 2026
Every market differs, but to stay in control, you must build a scope-based cost plan rather than relying on generic per-square-meter allowances.
"Always include contingency for unknowns and post-occupancy tuning. Time approvals early; permitting and landlord sign-off often drive the critical path."
If you are navigating multiple stakeholders, tight lease events, or complex MEP requirements, bringing in a specialist Design-Build partner like Ai Spaces can compress decisions and protect your program.

Ready to de-risk your fit-out?
If you are a contract team or tenant preparing for an office fit-out, Ai Spaces offers a pre-contract review to stress-test your brief, drawings, and procurement plan. Start confidently and finish cleanly.
Contact our team today to discuss your project.
More Articles to Keep Designing Your Workspace
Guides, inspiration and workspace ideas